Making it a Home and more...
jump to top of page
jump to top of page
jump to top of page
jump to top of page
to be continued...
jump to top of page
;)
;)
;)
;)
;)
;)
CAMPER CONVERSION
First Camping, Heater, Insulation, Furniture / Box building, Pop-top Roof, Curtains, Camper Van Registration (TÜV), Tarps
ELECTRICS
Double Battery, Heater Control
First Camping, Heater, Insulation, Furniture / Box building, Pop-top Roof, Curtains, Camper Van Registration (TÜV), Tarps
ELECTRICS
Double Battery, Heater Control
INTERIOR
Glove Box, Heater Deflector
EXTERIOR
Raised Air Intake / Snorkel, Roof Rack, Stickers, Door Openings, Windscreen Washer Improvements
Glove Box, Heater Deflector
EXTERIOR
Raised Air Intake / Snorkel, Roof Rack, Stickers, Door Openings, Windscreen Washer Improvements
CAMPER CONVERSION
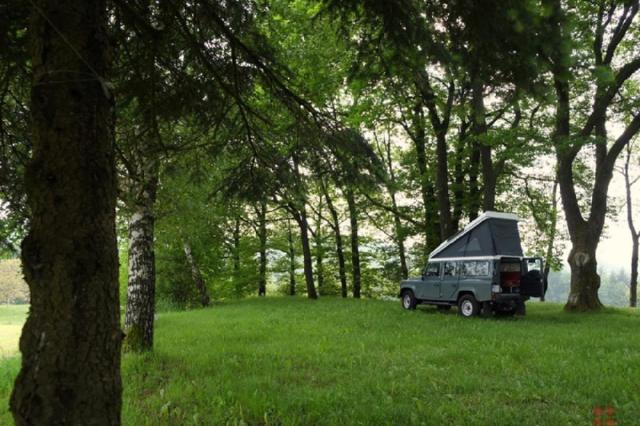
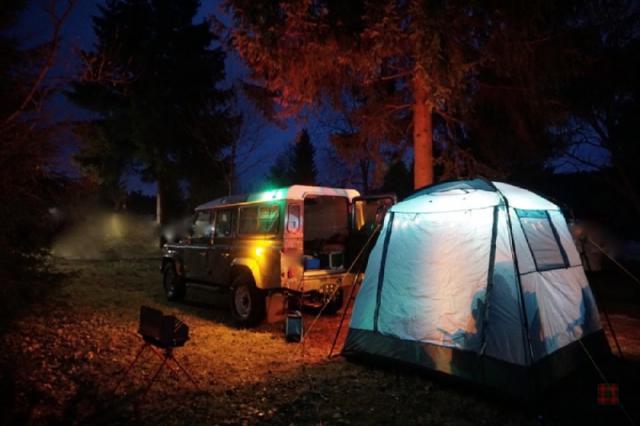
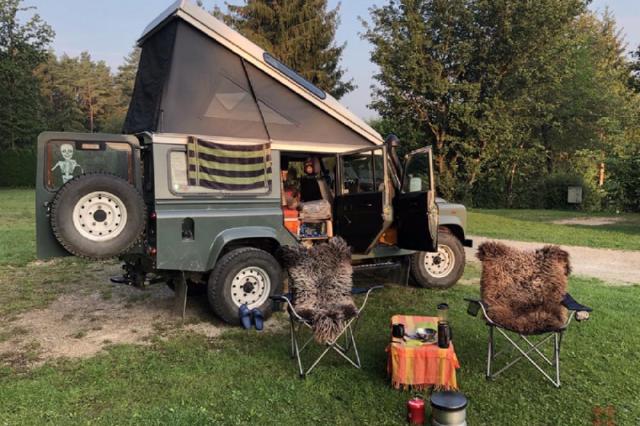
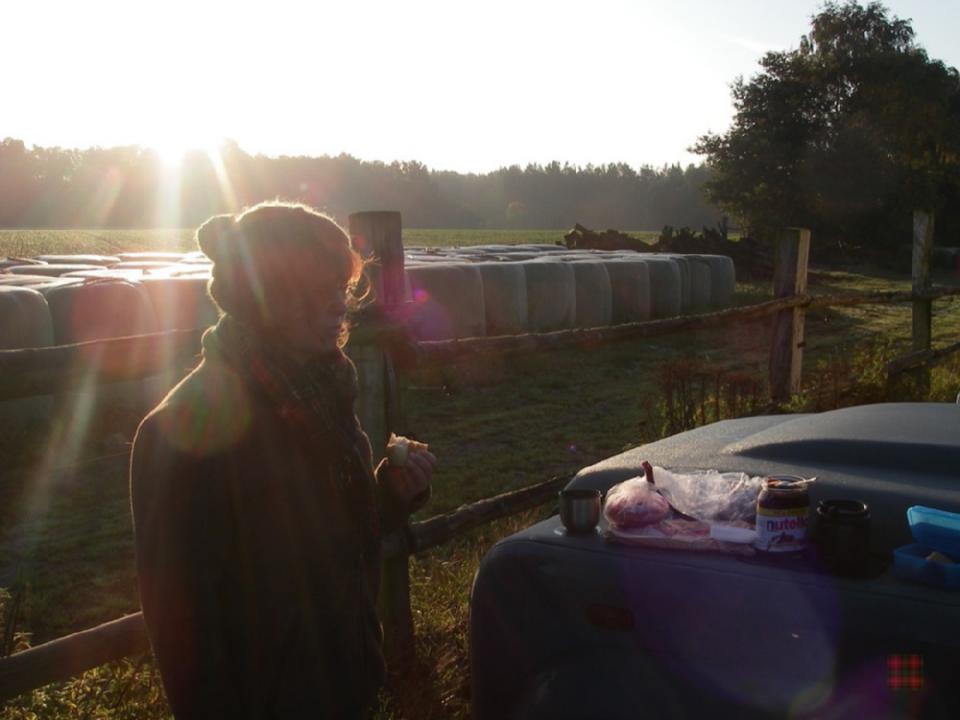
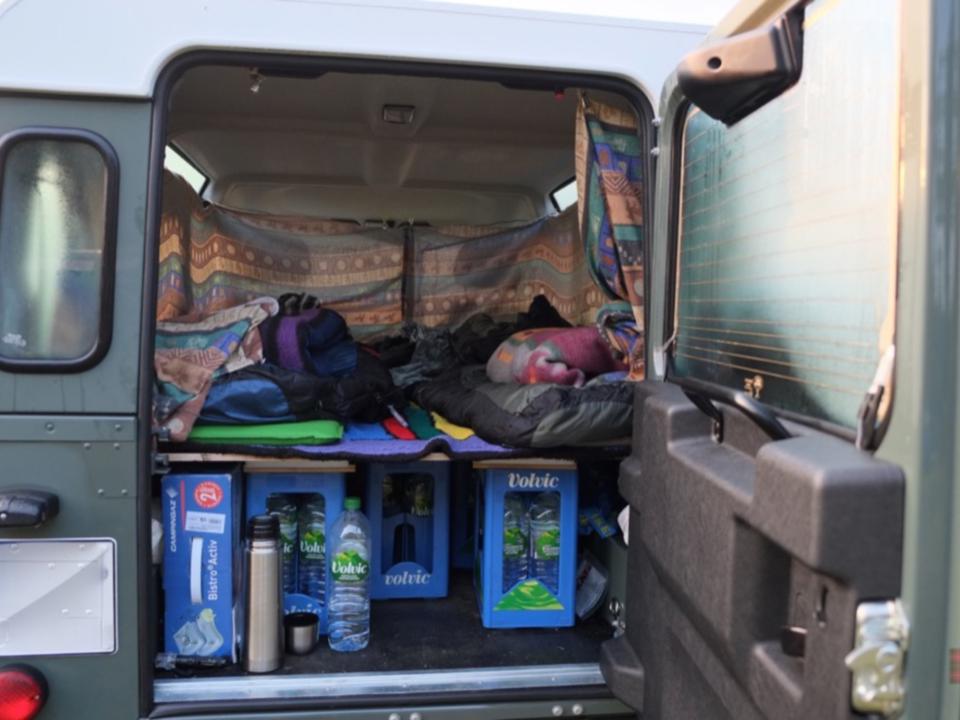
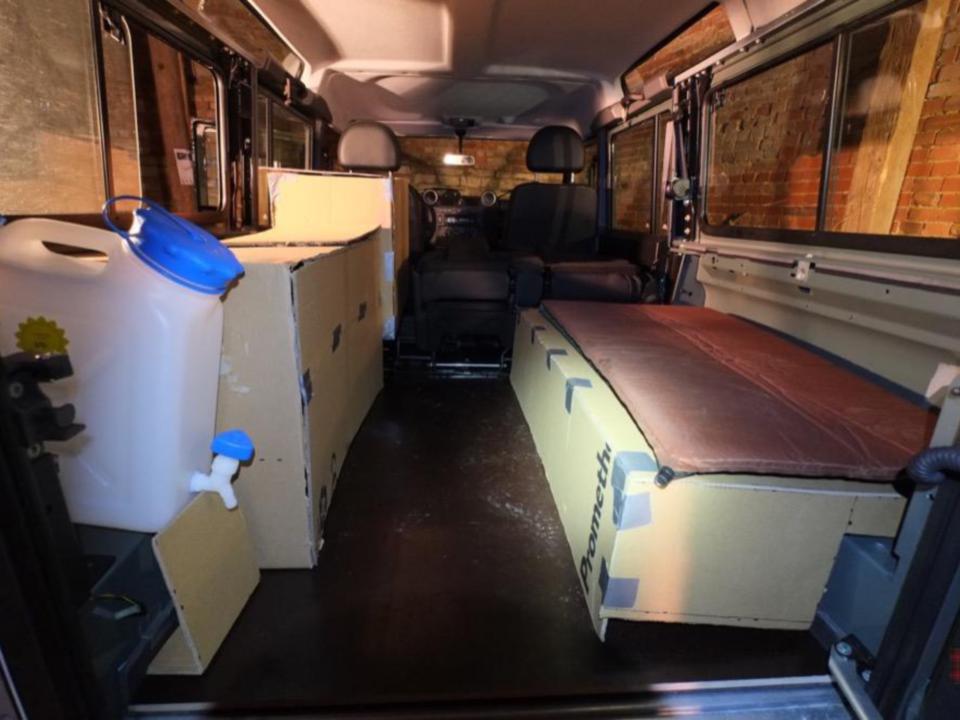
First camping
Two weeks after we received our Landy, we camped at the Adventure Northside offroad show. It was bitterly cold, but we met a lot of great people who inspired us. This is our makeshift camping interiour I'd cobbled together. "water bed" included ;-)
;)
;)
- removed third-row seats
- plywood resting on some water bottle boxes
- therm-a-rest, sleeping bags, warm undies
- curtains made from bed linen
- camping gas cooker
- cooler bag (haha...)
- plywood resting on some water bottle boxes
- therm-a-rest, sleeping bags, warm undies
- curtains made from bed linen
- camping gas cooker
- cooler bag (haha...)
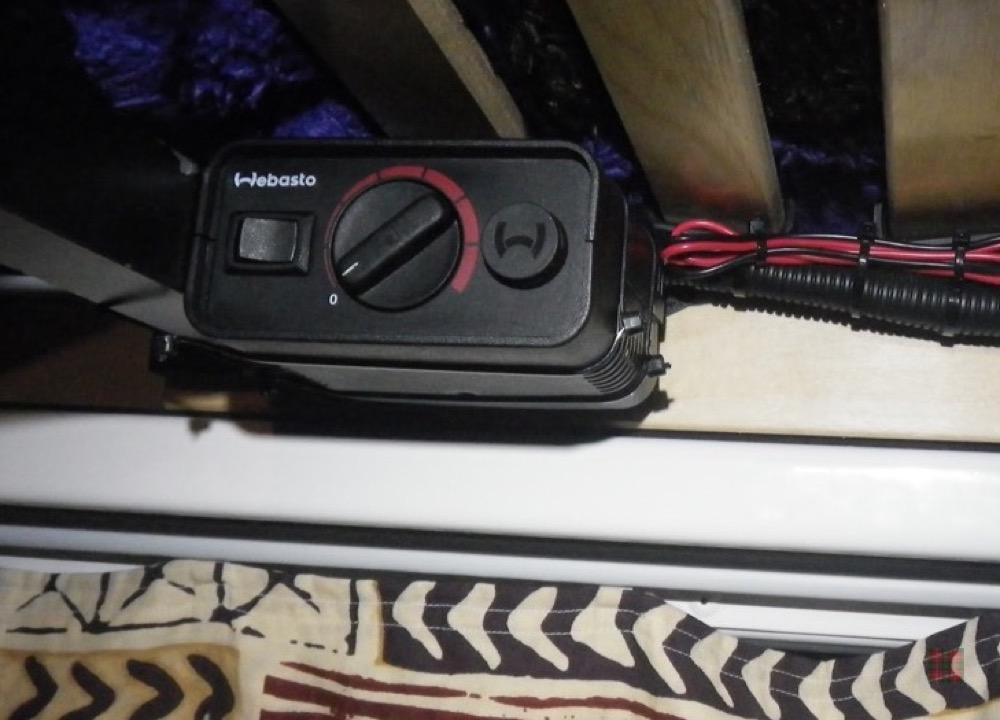
Heater
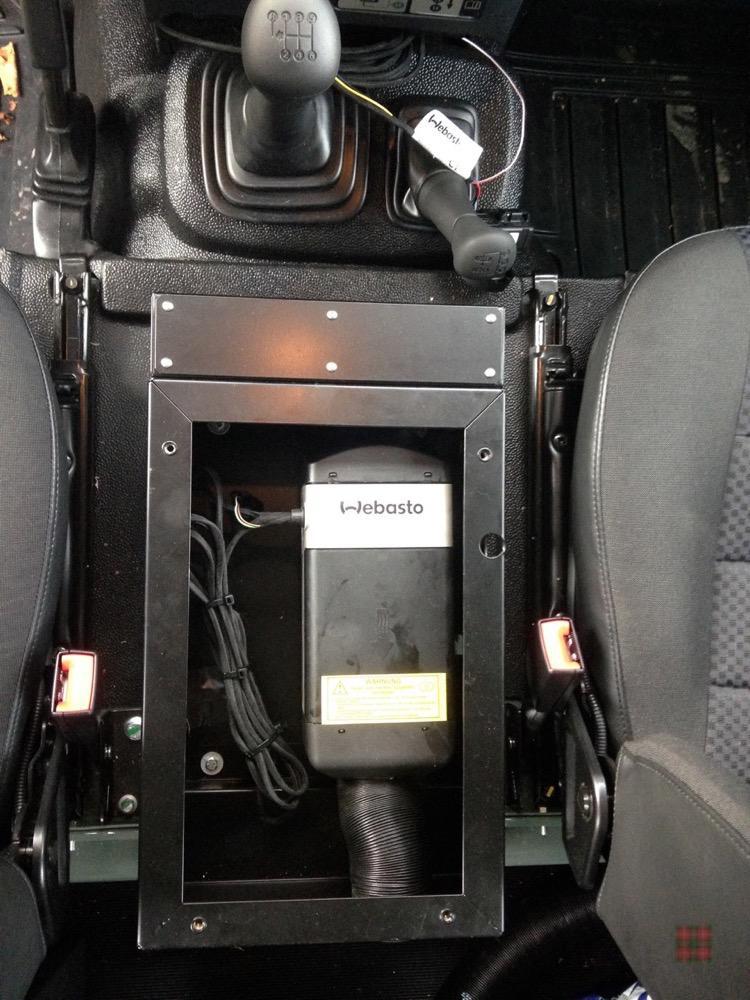
First addition: an auxiliary heater to keep feet warm and inmates happy ;-) It's Diesel-fuelled, which is what we carry anyway, so no need for a complicated gas installation.
;)
- Webasto Airtop 2000 ST D
- mounted in a Nakatanenga console, under the cubby box
- simple knob control and thermostat
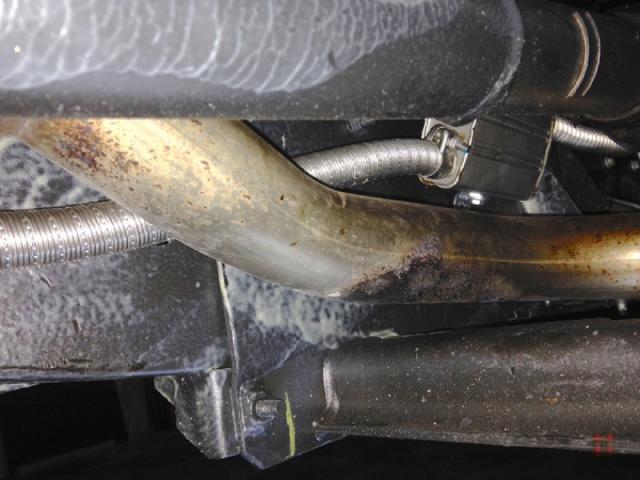
- camping-specific extra silent stainless steel exhaust silencer
- exhaust pipe routed to the front to avoid fumes entering the rear doors and windows
- installed by Graham Coster, Hildesheim, Germany
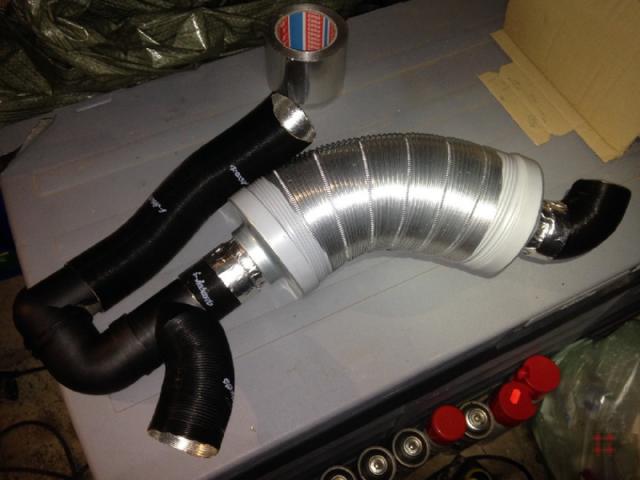
- additional warm air silencer; takes up some space but really makes a difference
The Airtop warms up very quickly and uses very little Diesel and battery power. However, we were not very happy with how the Webasto controls room temperature. So I modified it a bit. See ELECTRICS.
- mounted in a Nakatanenga console, under the cubby box
- simple knob control and thermostat
- camping-specific extra silent stainless steel exhaust silencer
- exhaust pipe routed to the front to avoid fumes entering the rear doors and windows
- installed by Graham Coster, Hildesheim, Germany
- additional warm air silencer; takes up some space but really makes a difference
The Airtop warms up very quickly and uses very little Diesel and battery power. However, we were not very happy with how the Webasto controls room temperature. So I modified it a bit. See ELECTRICS.
;)
;)
;)
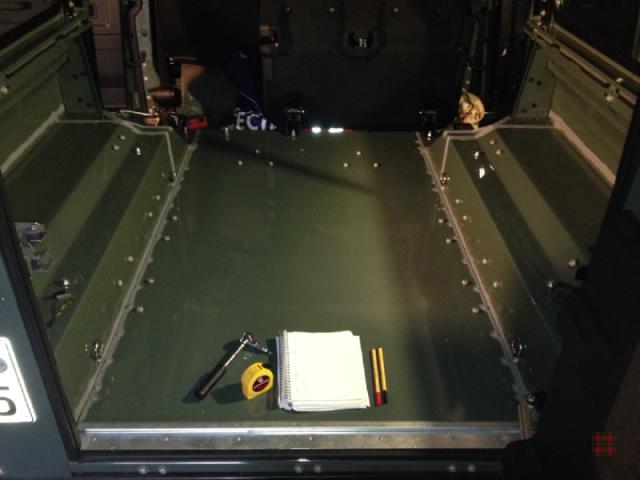
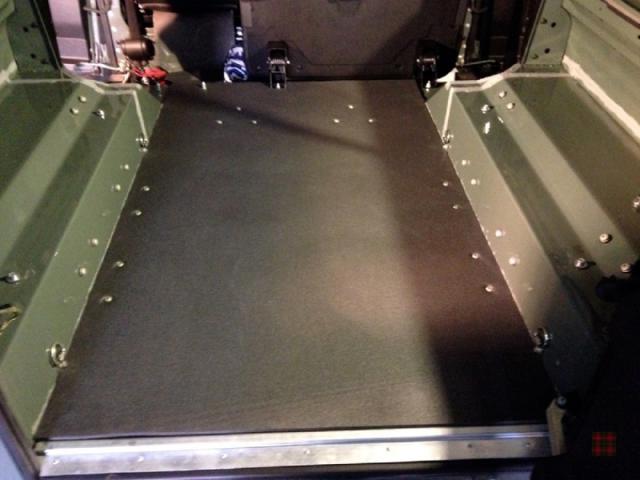
Insulation
;)
- removed trim
- sealed all panel seams and screw holes
- closed-cell insulator on floor and side panels
- added plywood-floor,
- retaining the base for the second-row double seat
Thanks to Bernd for his inspiration regarding bodywork sealant and isolator, and thank to Alexander for providing the "goo" :-)
- sealed all panel seams and screw holes
- closed-cell insulator on floor and side panels
- added plywood-floor,
- retaining the base for the second-row double seat
Thanks to Bernd for his inspiration regarding bodywork sealant and isolator, and thank to Alexander for providing the "goo" :-)
;)
;)
;)
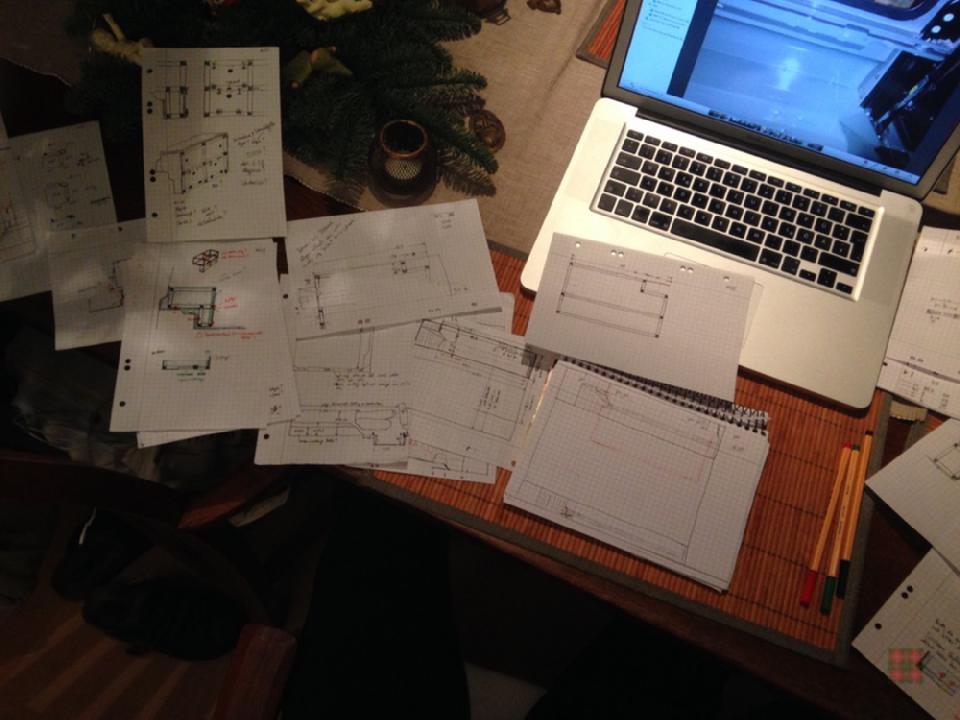
Planning the furniture
Applying a very high-tech approach, we've created a 3D model of what would be our future living space. During the following winter weeks, detailed plans were drawn (using "pen-and-paper" technology).
;)
;)
- 1:1 cardboard models of seat box, table/storage box and fridge
- water canister close to the rear door for easy access and refilling
- fridge where the single second-row seat was
- low seat box to allow for maximum head room
- no boxes or shelves blocking the windows to maximise interiour free space and enjoy the views
- water canister close to the rear door for easy access and refilling
- fridge where the single second-row seat was
- low seat box to allow for maximum head room
- no boxes or shelves blocking the windows to maximise interiour free space and enjoy the views
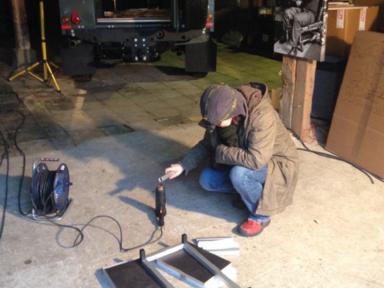
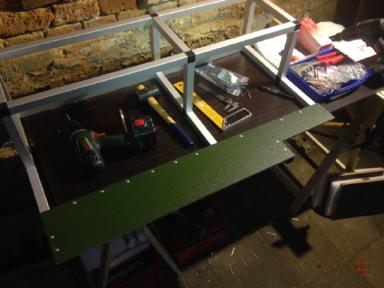
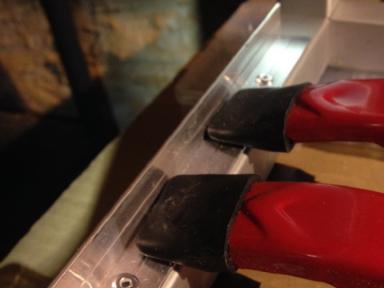
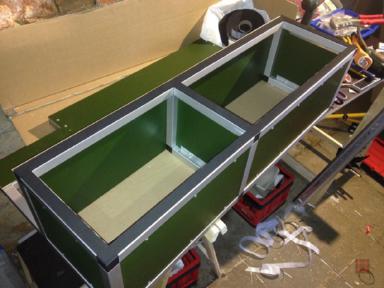
Box building
Instead of the "usual" flightcases we built our boxes from aluminium profiles. It's easier to assemble and requires less wood, reducing weight and allowing us to use every nook and cranny of the irregular shape of the Defenders interior. Credits go to kontraer.com for this great idea!

;)
-
25mm
aluminium profiles
- steal connectors (zinc plated)
- Solidplex PVC-coated plywood (multiplex), 7mm strong, 9mm for seat and table surfaces
- wood riveted to the frame
(directly or via aluminium brackets)
- three modular boxes
- securely screwed to existing mounting points of former seats and seat belts (steel-reinforced structures under the body)
- not fixed to the sides of the bodywork to allow for twisting
;)
;)
;)
;)
;)
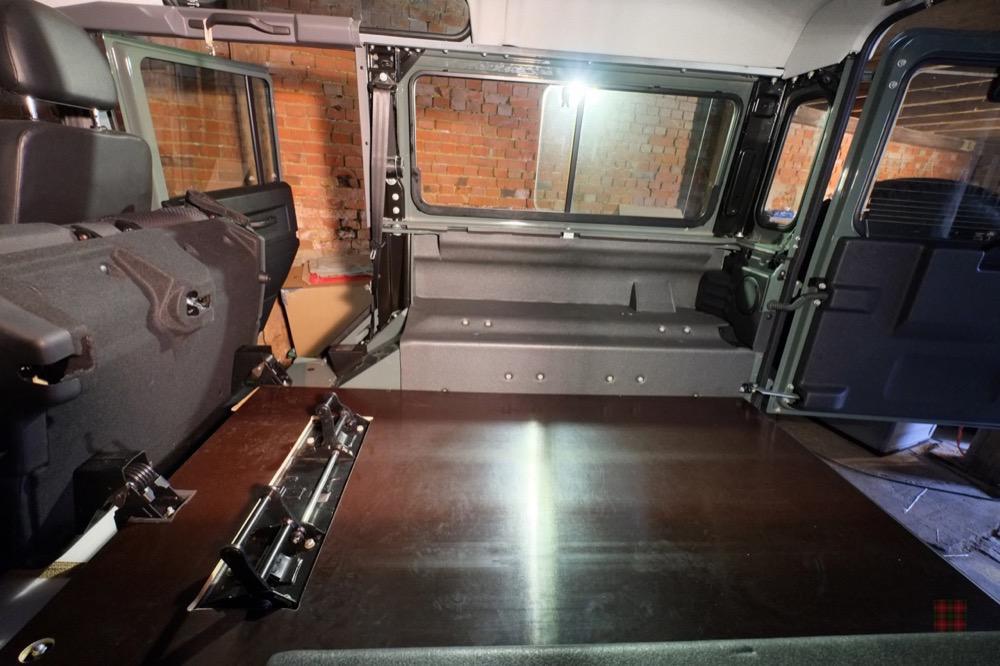
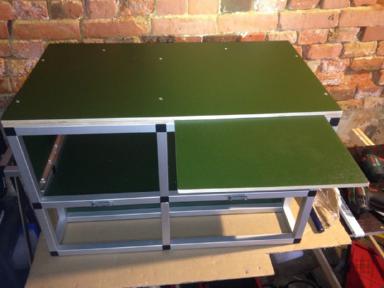
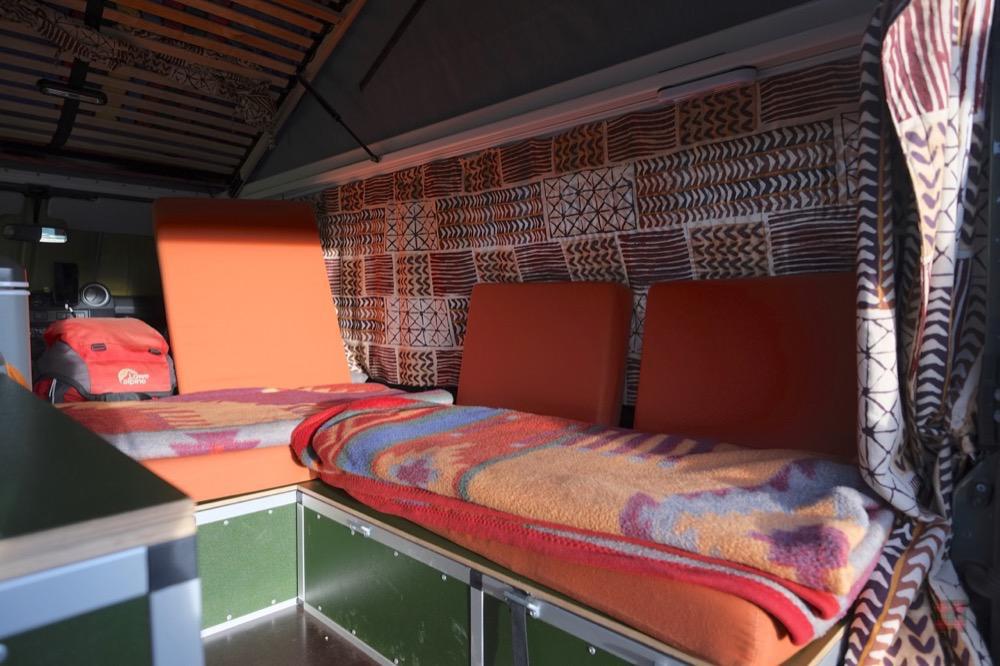
Sofa, Bed
Two floor boards can be raised to the level of the seat boxes, to make a larger sofa or a bed. Before we had a proper foldable table, we also used one board as an outside table.
- 12mm multiplex plywood
- two asymmetrically divided boards (better handling, and to get in and out of bed with closed rear door)
- aluminium bracket to firmly support second board
- two asymmetrically divided boards (better handling, and to get in and out of bed with closed rear door)
- aluminium bracket to firmly support second board
jump to top of page
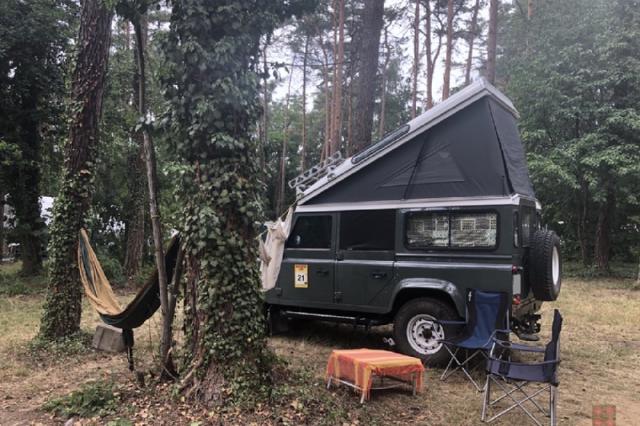
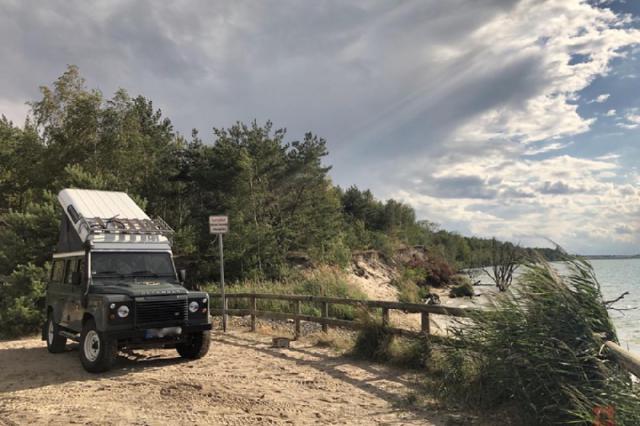
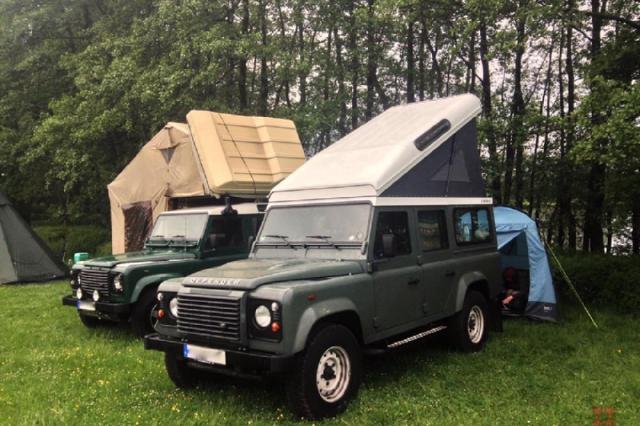
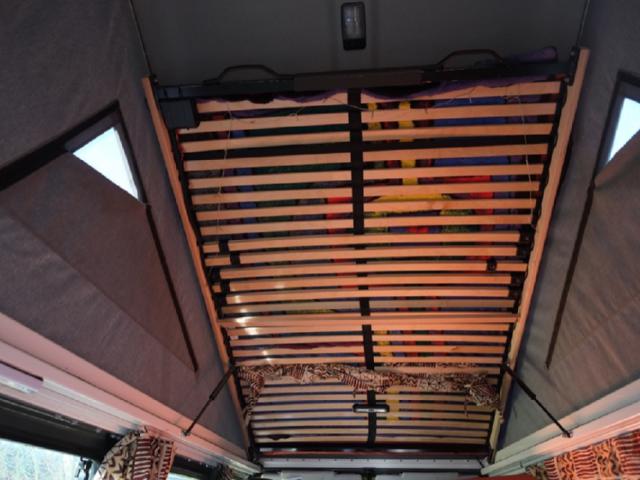
Pop-top roof (Hubdach)
We need space... :-) We had a roof-top-tent in Namibia and didn't like the effort of closing it in the morning. After seeing those popular "Hubdächer" on the camp site of 2015's "Abenteuer & Allrad" we knew, what we wanted :-)

- made and mounted by
x-vision-x, great quality, very helpful people, fair price
- opened in seconds, closed in a minute
- internal rear dampers help closing it
- uses original roof
- bed with mattress and sleeping bags folds up into the open roof, when not needed
- comfy slatted frame for the bed, which also provides enough head room to sit inside with roof closed
- opened in seconds, closed in a minute
- internal rear dampers help closing it
- uses original roof
- bed with mattress and sleeping bags folds up into the open roof, when not needed
- comfy slatted frame for the bed, which also provides enough head room to sit inside with roof closed
;)
;)
;)
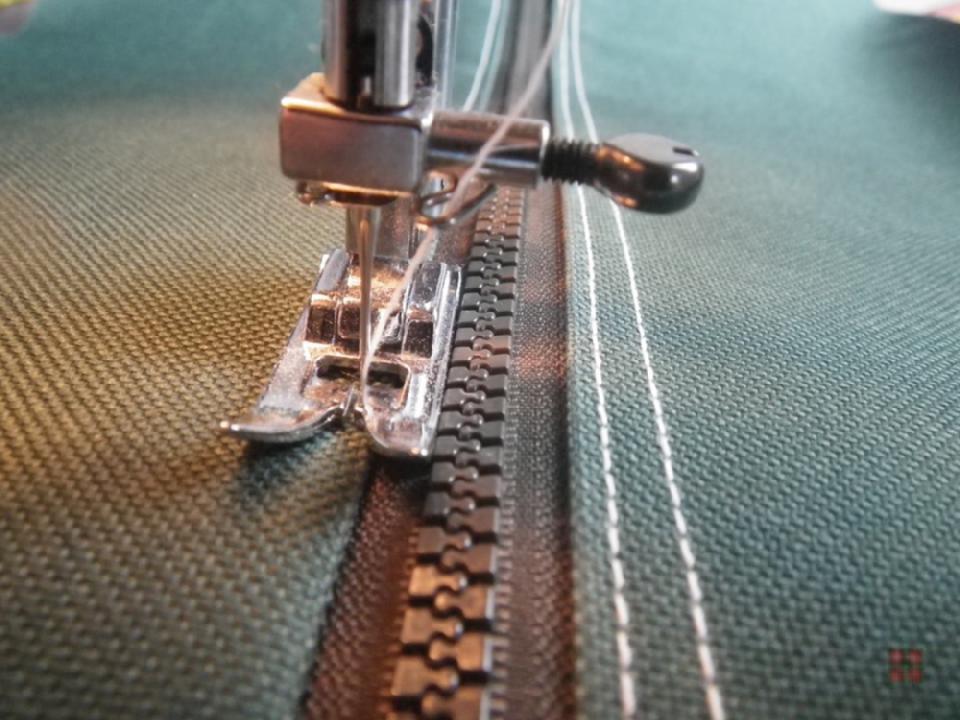
Curtains
I, Frank, have always wanted curtains on the driver's side to block the heat of the sun while driving long distances. Why do "normal" cars don't have that? So I went ahead, bought an inexpensive sewing machine, and sewed curtains almost all around - including passenger's side. Detailed DIY instructions here.
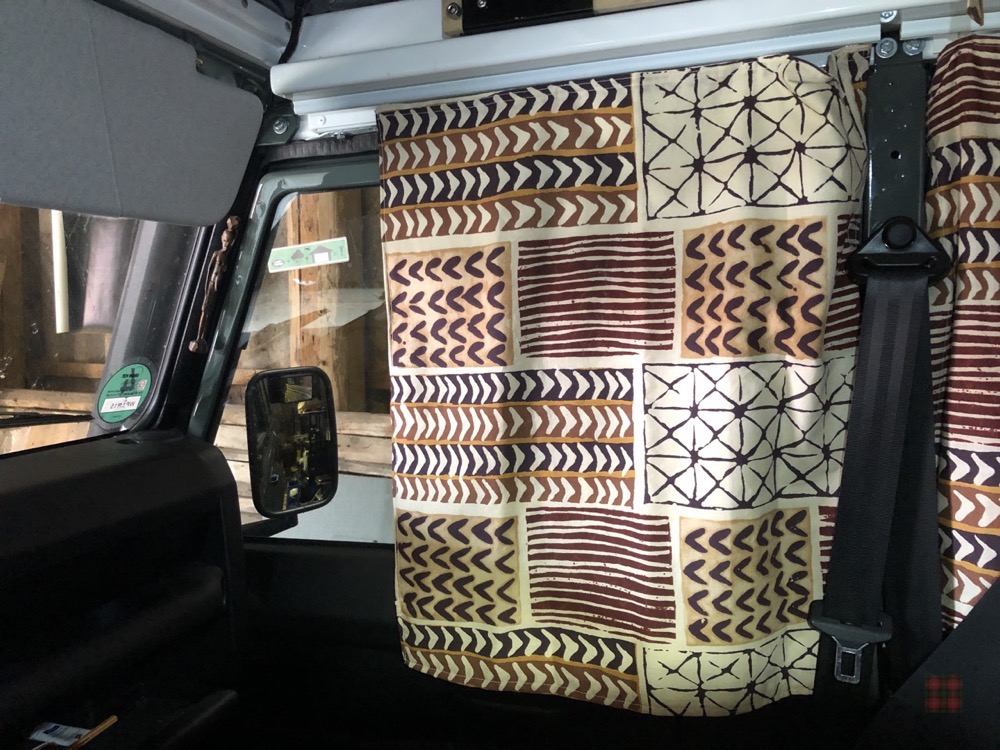
- doubled-up IKEA bed linen "africa" :-)
- thermal-insulating lining
- black-out lining for rear door
- sewed-in magnets keep curtains fully closed
(we don't want to embarras any bystanders ;-)
- mounted to channel rails glued underneath the roof's frame
For windscreen and front doors we bought thermal insulations from project camper. Highly recommended! They're black on the outside.
It's a camper van!
We added some good-quality upholstery were you can sit and sleep on comfortably (strength H40S50). Now it's really cosy. On the formal side we've had the Defender classified as camper van
 :
:
The Defender of later model years comes classified as off-road utility vehicle ("N1G" in Germany). So it is insured as Heavy Goods Vehicle. Which is more expensive than a passenger car insurance.
But it has seven seats and windows (at least in our Station Wagon variant). This means, it is taxed as passenger car. Which is way more expensive than HGV tax...
We avoided this bureaucratic nonsense, by having it classified as camper van. The money saved pays off the pop-top roof in 10 years :-) In 2020 the unfair tax regulation was finally dropped - signs and wonders...
;)
The Defender of later model years comes classified as off-road utility vehicle ("N1G" in Germany). So it is insured as Heavy Goods Vehicle. Which is more expensive than a passenger car insurance.
But it has seven seats and windows (at least in our Station Wagon variant). This means, it is taxed as passenger car. Which is way more expensive than HGV tax...
We avoided this bureaucratic nonsense, by having it classified as camper van. The money saved pays off the pop-top roof in 10 years :-) In 2020 the unfair tax regulation was finally dropped - signs and wonders...
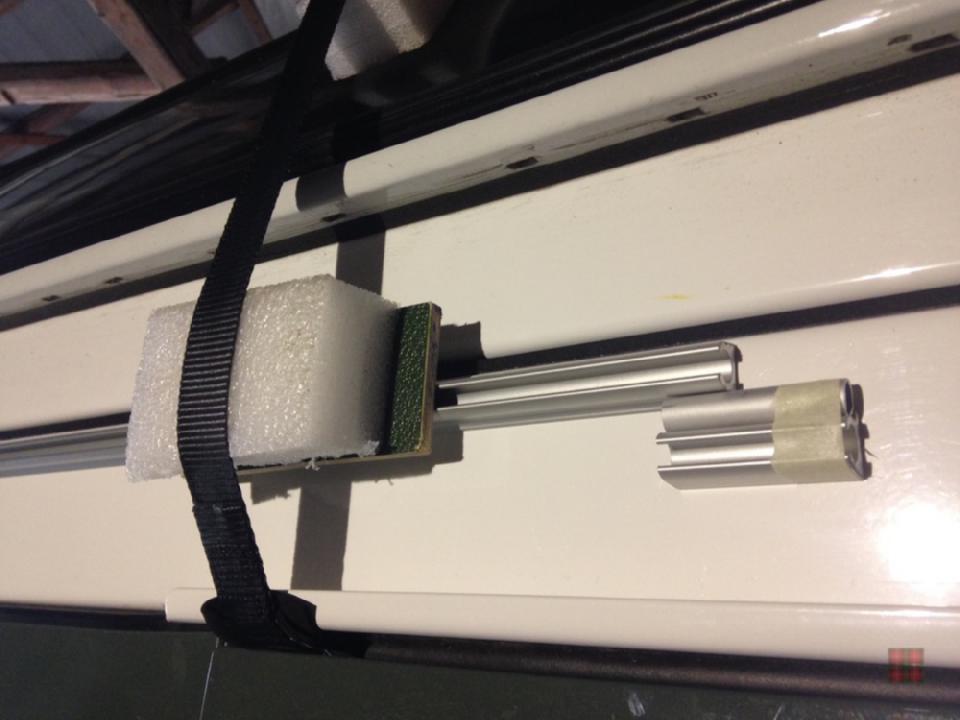
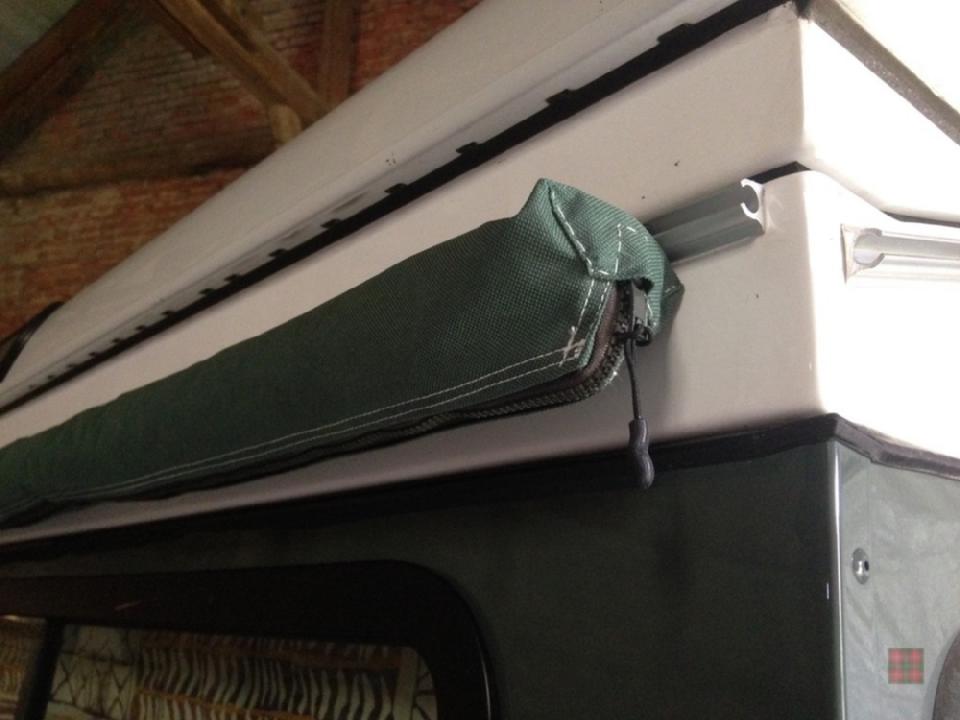
Tarps
Instead of fitting one heavy awning to the side of the Defender, we have modified two Tatonka TC tarps. The material is waterproof cotton, which is light and silent in the wind.
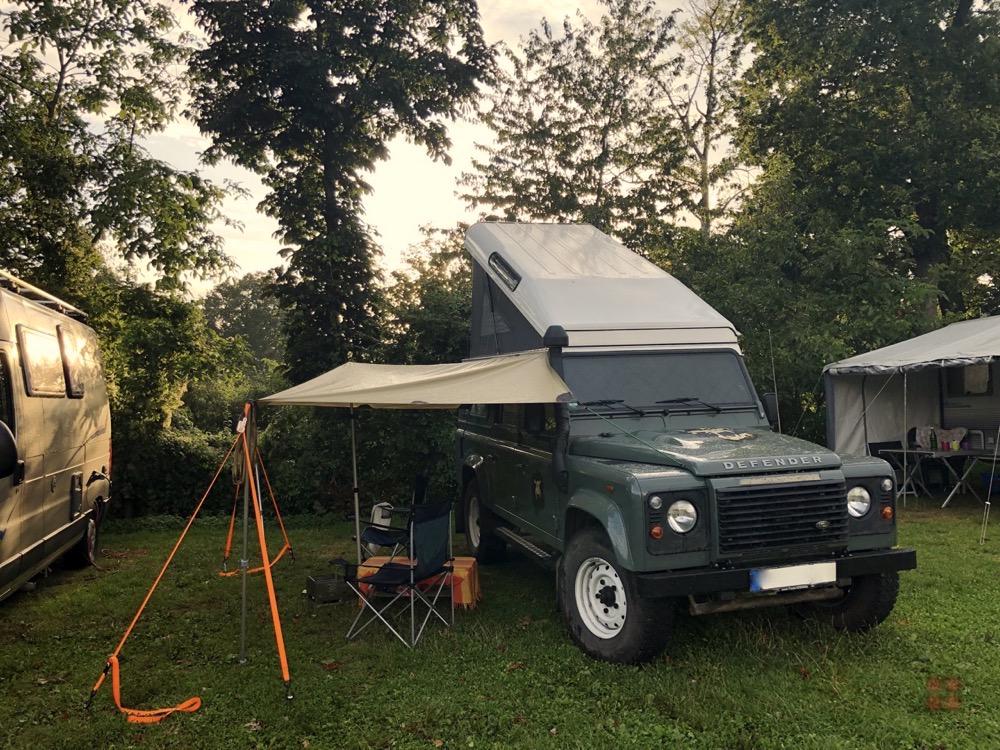
The tarps quickly slide into channel rails (Keder) we glued to both sides and the rear of the roof's frame. Supported by telescopic tent poles and fixed with ratchet straps, the tarps provide flexible shelter in sun or rain.
- A medium sized tarp (4,00x2,80m) is usually fitted to the rear.
- On the side there is a tarp, in a bag that I sewed from waterproof Cordura. The bag is only 7cm in diameter but can hold a tarp of 4,40x4,30m. This turned out to be too large for our needs, so I cut a piece off to make a third, small tarp. Now a telescopic pole fits in the bag, too, although we usually store them in our "cellar" along with the medium and small tarp.
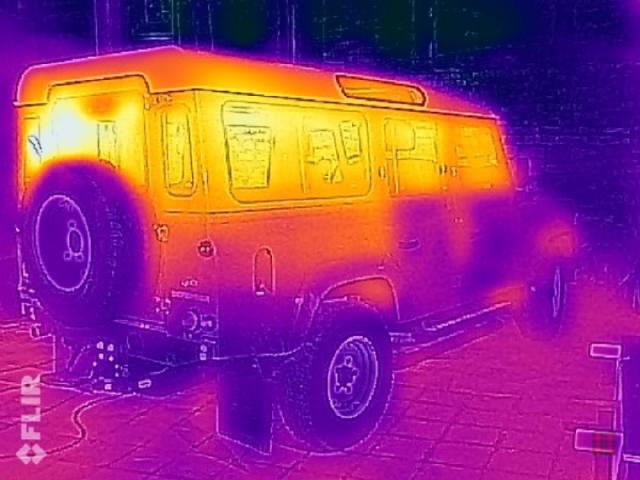
- That smallest tarp is very quick to fit. It's just large enough to keep the rain off the rear door area (see the picture from Iceland at the top of this page).

;)
The tarps quickly slide into channel rails (Keder) we glued to both sides and the rear of the roof's frame. Supported by telescopic tent poles and fixed with ratchet straps, the tarps provide flexible shelter in sun or rain.
- A medium sized tarp (4,00x2,80m) is usually fitted to the rear.
- On the side there is a tarp, in a bag that I sewed from waterproof Cordura. The bag is only 7cm in diameter but can hold a tarp of 4,40x4,30m. This turned out to be too large for our needs, so I cut a piece off to make a third, small tarp. Now a telescopic pole fits in the bag, too, although we usually store them in our "cellar" along with the medium and small tarp.
- That smallest tarp is very quick to fit. It's just large enough to keep the rain off the rear door area (see the picture from Iceland at the top of this page).
;)
;)
;)
;)
jump to top of page
ELECTRICS
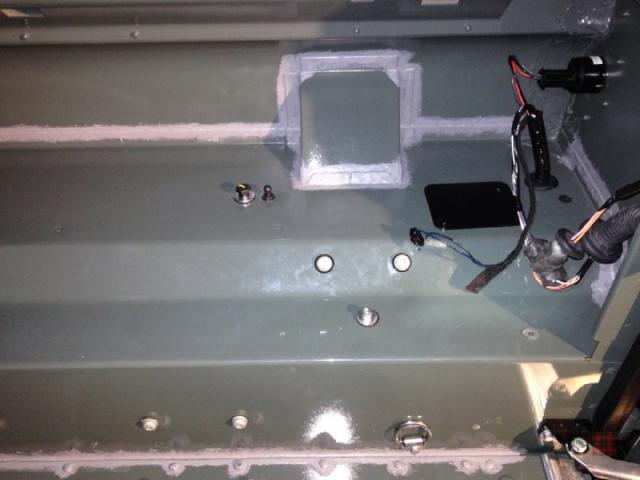
Double battery system
A second battery was installed mainly to power fridge and heater for a few days' camping, without the risk to drain the main starter battery. An "intelligent" relay, or solenoid, connects the second battery to the alternator when the engine is running. When the engine is off, both batteries are separated automatically. Both batteries tightly fit in the Defender's battery box under the left-hand seat.
We've built this mainly to be more independent "in the wild", but it also saves us some money when we stay at camp sites. For about three to five chilly days and nights, we don't need external power. After four years it has nearly paid for itself.
It was planned to power the radio and interiour LED lights from the auxiliary battery, too. It turned out this wasn't necessary the way we use things.
- original starter battery:
Varta LDF 90, 90Ah, flooded
- aux battery:
Ective EDC 100, 100Ah, deep cycle gel
- National Luna Solenoid & Controller
- seams of the battery box sealed against water ingress
- battery tray built from aluminium profiles and sheets
Varta LDF 90, 90Ah, flooded
- aux battery:
Ective EDC 100, 100Ah, deep cycle gel
- National Luna Solenoid & Controller
- seams of the battery box sealed against water ingress
- battery tray built from aluminium profiles and sheets
We've built this mainly to be more independent "in the wild", but it also saves us some money when we stay at camp sites. For about three to five chilly days and nights, we don't need external power. After four years it has nearly paid for itself.
It was planned to power the radio and interiour LED lights from the auxiliary battery, too. It turned out this wasn't necessary the way we use things.
Heater control modification
Yes, the Webasto Airtop heater can be noisy. This has improved after installing the warm air silencer. But when the Airtop starts it sounds like a jet engine, which is rather annoying when you're already dreaming of electric sheep... The control algorithm is really bad. Even with a room temperature sensor the Airtop switches off completely when the target temperature was reached. When the room has cooled down by about 5 °C the heater would kick into action again with all its might.
Shortly before the target temperature is reached, the Airtop would reduce its power to a bearable level (almost inaudible with warm air silencer). But Webasto provides no way to set this level manually. Other makes do (such as Autoterm).
Not something I was willing to accept, so I came up with a little circuit that tricks the heater.
 Usually we would let it run full steam for 15-20 minutes (with pop-top roof up) and then switch to "low" for the rest of the evening and a cold night. Luckily the control algorithm is so simple, it stays in this "silent warmth" state for hours without complaining. Problem solved.
Shortly before the target temperature is reached, the Airtop would reduce its power to a bearable level (almost inaudible with warm air silencer). But Webasto provides no way to set this level manually. Other makes do (such as Autoterm).
Not something I was willing to accept, so I came up with a little circuit that tricks the heater.
;)
- The
control knob
is just a resistor to set the target temperature. The
temperature sensor
is a temperature dependent resistor, to measure the current room temperature.
- I've installed a switch and two additional fixed resistors to make the Airtop control "believe" it has almost reached the target temperature, so it would reduce power :-)
- Everything placed in a housing, reachable from the bed :-)
- I've installed a switch and two additional fixed resistors to make the Airtop control "believe" it has almost reached the target temperature, so it would reduce power :-)
- Everything placed in a housing, reachable from the bed :-)
jump to top of page
INTERIOR
Glove box, Heater deflector
Best storage solution in the front is the cubby box, situated between seats, also serving as arm rest. But there is no glove box in the traditional sense. After much deliberation if we would ever need one, Raptor Engineering came up with a new variant, and I couldn't resist buying it.
The second place where you think Land Rover has forgotten to fit a part, is the centre heater outlet. Without modification you either get a hot or a very cold leg.
Enter: The Heater Deflector!
Enter: The Heater Deflector!
EXTERIOR
Raised Air Intake / Snorkel
A Defender's engine air intake is positioned on the right-hand side of the front wing, at waist height. When crossing rivers there is a potentially catastrophic risk of getting water into the engine. So, before we travelled to Iceland, we fitted a Mantec RAI,
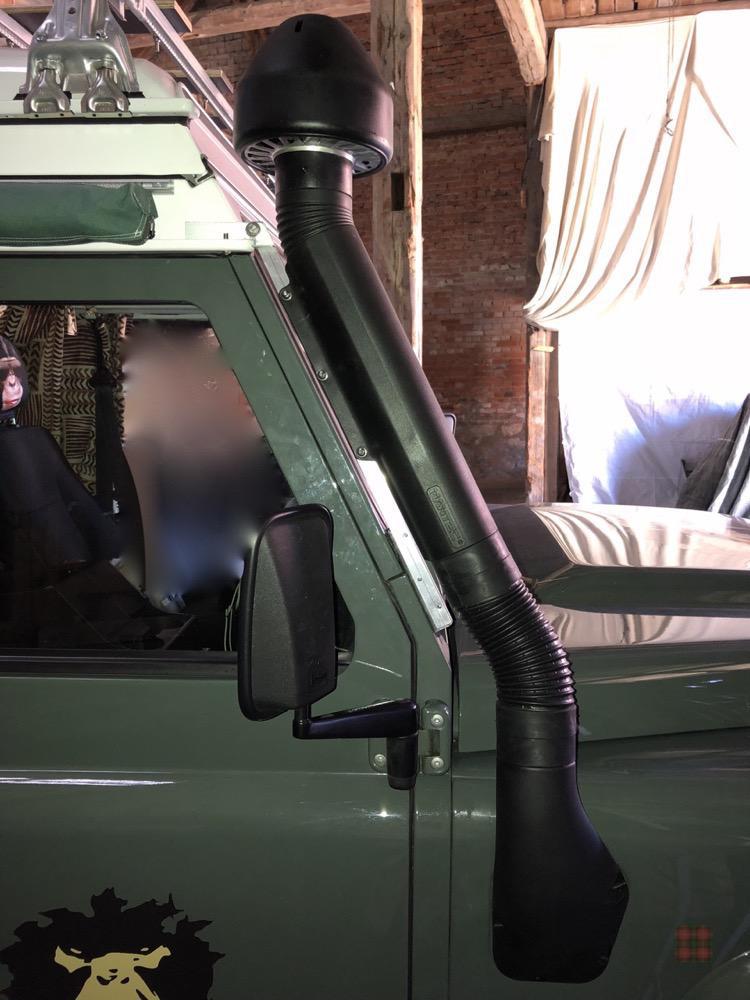 a classic Land Rover accessory. While it offers some protection, the internal air ducts are not fully water tight, so it's not a snorkel, but "just" a raised air intake. A RAI also protects against splash water while driving in the rain and keeps dust and sand away, so the air filter will last longer. One of the many particularities you learn (even if you don't really care) when you own a Defender :-)
Another classic part certainly is a roof rack. We try to minimise the weigth on the roof
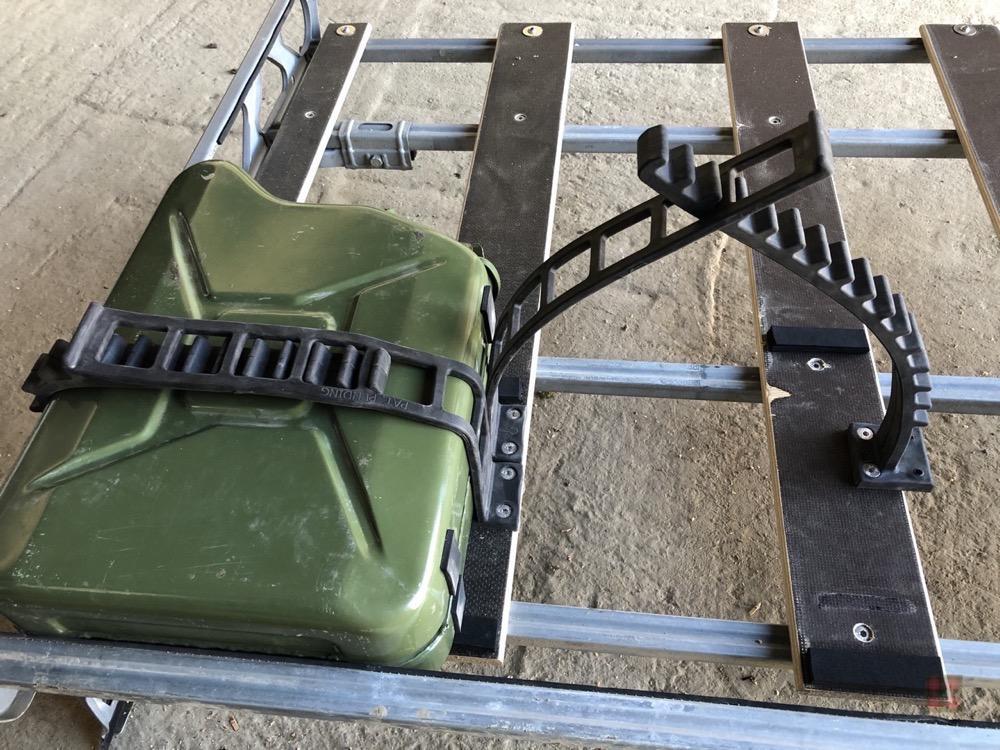 and went for a short La Prealpina roof rack. Some plywood planks were added. Two straps of a Quickfist XL can hold two 10 litre jerry cans (we tried to lift a full 20 litre canister to the roof - didn't work, sorry :-)
;)
Roof Rack
Another classic part certainly is a roof rack. We try to minimise the weigth on the roof
;)
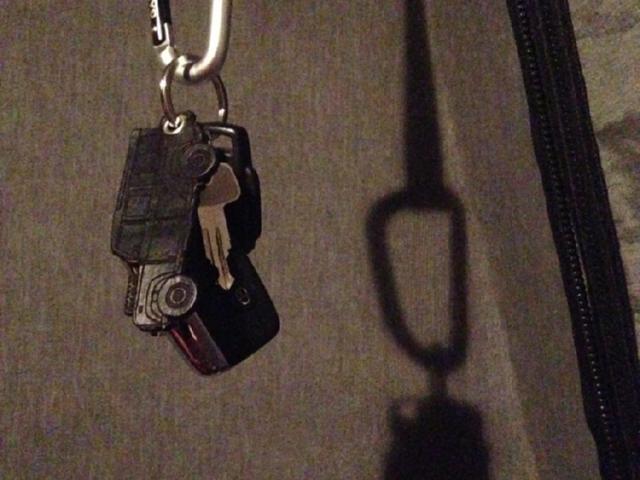
Monkey Business
Somehow we felt the need for distinction. Not that the Defender can't speak for itself as it is. We feel the Defender is a time machine. Everything seems to slow down in it and it is somehow out of time.
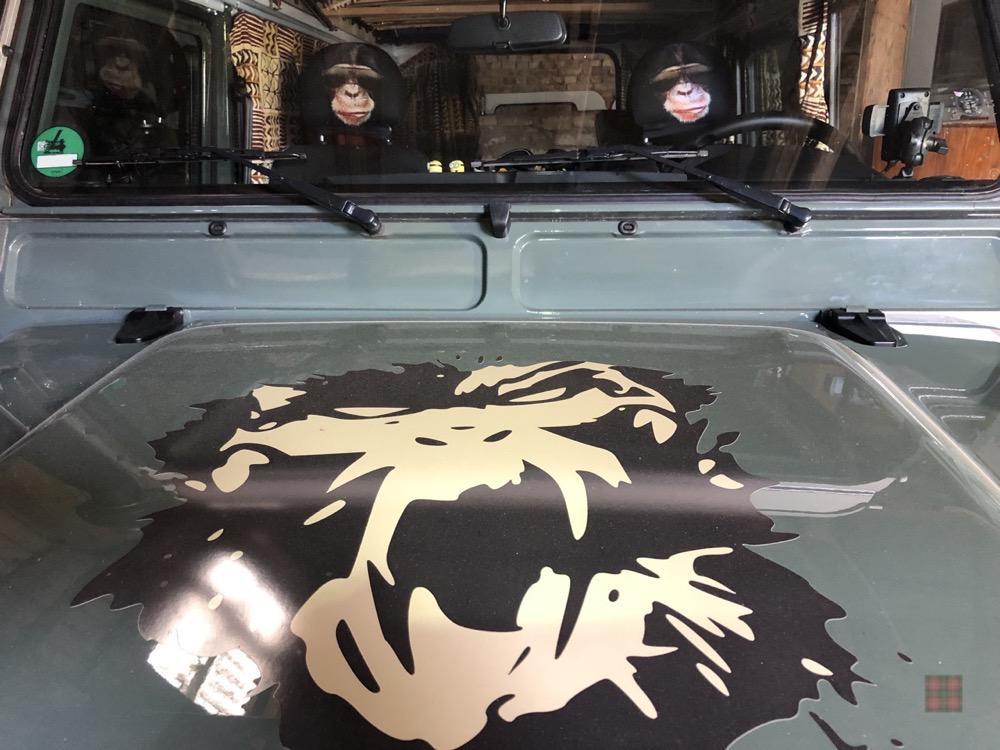 And we like monkeys. Have you seen the sci-fi film 12 Monkeys? If you did, you'll understand our "subtle" stickers. In Terry Gilliam's cult movie Bruce Willis is sent back in time to help find a cure for a virus that has almost wiped out humanity. Oops, a time machine would come in handy these days, right?
 It should be noted that the movie was released in 1996, and we created our stickers in 2018. So any resemblance to actual or future events or locales or persons, living, dead or unborn, is entirely coincidental. 8-)
The stickers we created were printed on outdoor-proof PVC with UV-protective coating and matt finish. They're good from -20°C .. +80°C and should last at least seven years - plus/minus one or two time jumps.
;)
;)
The stickers we created were printed on outdoor-proof PVC with UV-protective coating and matt finish. They're good from -20°C .. +80°C and should last at least seven years - plus/minus one or two time jumps.
porta patet ... - doors wide open
One of our first, most useful, simplest and cheapest modifications. With an extended door catch our frequently accessed rear doors can be opened to 90 degrees.
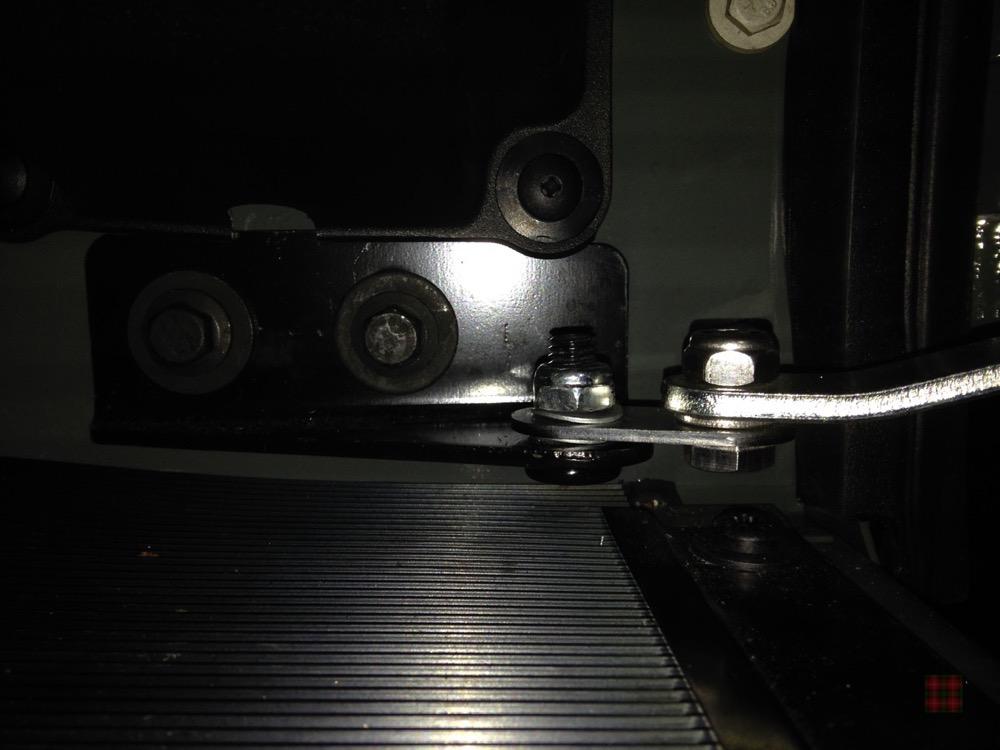 - simple extension of door catch mounting point
- this was 8€ from a forum member, instead of a whole new bracket for around 60€
;)
- this was 8€ from a forum member, instead of a whole new bracket for around 60€
jump to top of page
Windscreen washer improvements
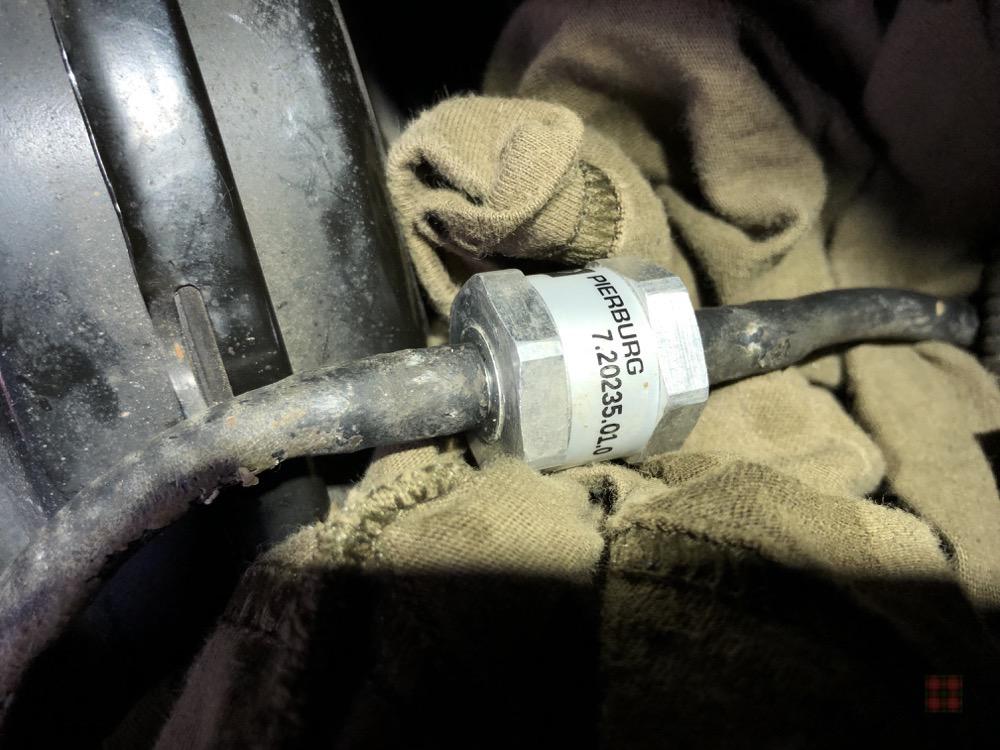
The Defender's windscreen water supply is not particularly effective. On our to do list is a better washer jet. But for now a simpler improvement is a bigger return valve, so the washer pump can deliver more water to the windscreen. The original valve is a tiny plastic thingy. It's found under the left-hand wing and easily replaced by a Pierburg 7.20235.01.0 fuel valve or a similar 6mm valve.
UPDATE: It turns out fuel vales are made for fuel not water :-( Their internals rust and the valve lasted only two years :-( I have re-inserted the original valve.
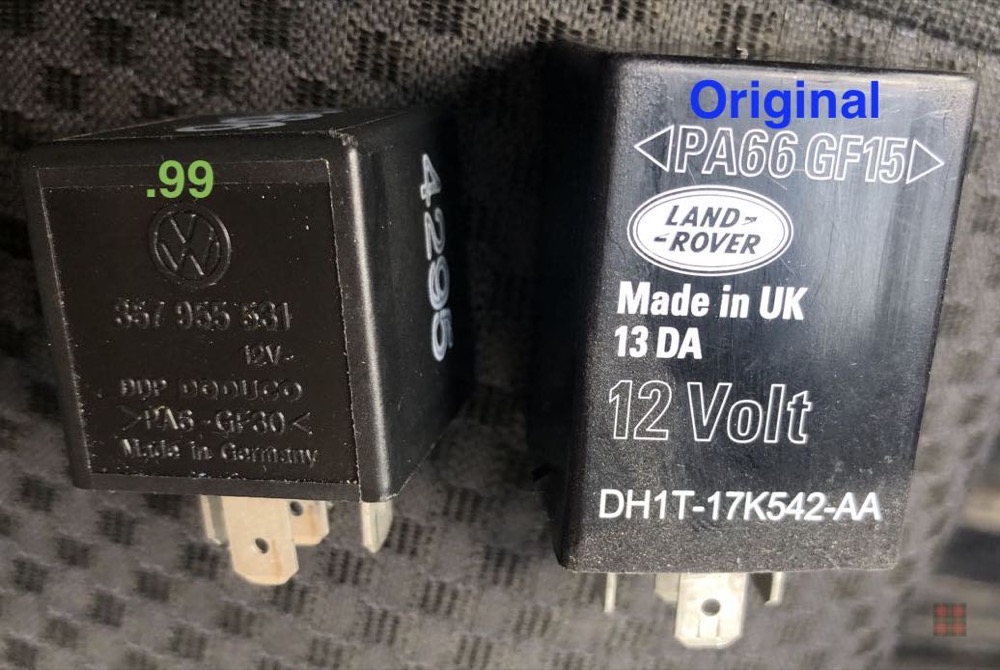
A great little modification is to replace the wiper relay with a VW ".99" wiper relay wih "programmable" interval. A used one is about 10€ and it's a matter of simply taking out the original (a bit of wiggling helps) and pushing in the new one.
Now, when you push the washer button, there is a delay before the wipers start moving, so you'll get more water on the screen before it's wiped away. A short push wont activate the wipers at all. Repeat to soak any dried bugs.
The relay's main feature, however, works like this:
- push down the wiper lever to "interval" position and push it back to "off"
- wait until you want the rain off the windscreen
- push down the wiper lever to "interval" position
The interval period is now set to the time you waited!
UPDATE: It turns out fuel vales are made for fuel not water :-( Their internals rust and the valve lasted only two years :-( I have re-inserted the original valve.
;)
A great little modification is to replace the wiper relay with a VW ".99" wiper relay wih "programmable" interval. A used one is about 10€ and it's a matter of simply taking out the original (a bit of wiggling helps) and pushing in the new one.
Now, when you push the washer button, there is a delay before the wipers start moving, so you'll get more water on the screen before it's wiped away. A short push wont activate the wipers at all. Repeat to soak any dried bugs.
The relay's main feature, however, works like this:
- push down the wiper lever to "interval" position and push it back to "off"
- wait until you want the rain off the windscreen
- push down the wiper lever to "interval" position
The interval period is now set to the time you waited!
to be continued...
jump to top of page